Photographs are precious treasures that capture memories, freeze moments in time, and tell stories that resonate through generations. However, as time passes, these cherished images can deteriorate, accumulating dust, stains, and damage that can spoil their beauty and significance. Thankfully, there are various restoration methods out there, making it possible to bring life back to old and damaged photos.
But having a photo professionally restored can be quite pricey, with services charging $89 to $489 for just a single image.
Use our DIY photo cleaning guide to learn professional techniques that will help you restore your photos without spending a dime.
Table of Contents:
- What is photo restoration?
- What is the best way to restore a photograph?
- 4 DIY photo cleaning methods
- How to clean photographs without ruining them?
- Getting Started With Overscale
What is Photo Restoration?
When we hear the word “restore,” most of us probably think of an old painting. However, almost any personal possession can be restored, including photographs.
Photo restoration is a process of repairing and enhancing old, damaged, or faded photographs to bring them back to their original or improved condition. It involves various techniques and tools to repair physical damage, correct color fading, remove stains or scratches, and enhance overall image quality.
Photo cleaning is one of the key steps in the photo restoration process. It focuses on removing dust, dirt, stains, and other unwanted elements from the image surface. This step is important because accumulated dirt and imperfections can obscure details, affect color accuracy, and degrade the visual appeal of the photograph. By cleaning the photo, you can reveal hidden details, improve clarity, and enhance the overall aesthetic quality.
What Is the Best Way to Restore a Photograph?
The best way to clean a photograph depends on its level of damage and fragility. Older photos are more fragile, so they should not be cleaned the same way as newer ones. For example, rubbing alcohol cleans newer photos well, but using it on old photos would probably result in damage.
What Should I Clean My Photo With?
Please note that the following guidelines are just general rules of thumb. We recommend testing any cleaning method on a small corner of your photo to see if the photo reacts negatively.
Mild & moderate damage: Rubbing alcohol or distilled water with a cotton swab
Severe damage: Extra soft dry cleaning sponge or compressed air with a soft cloth
4 DIY Photo Cleaning Methods
Here are four easy DIY methods you can use to clean your photos:
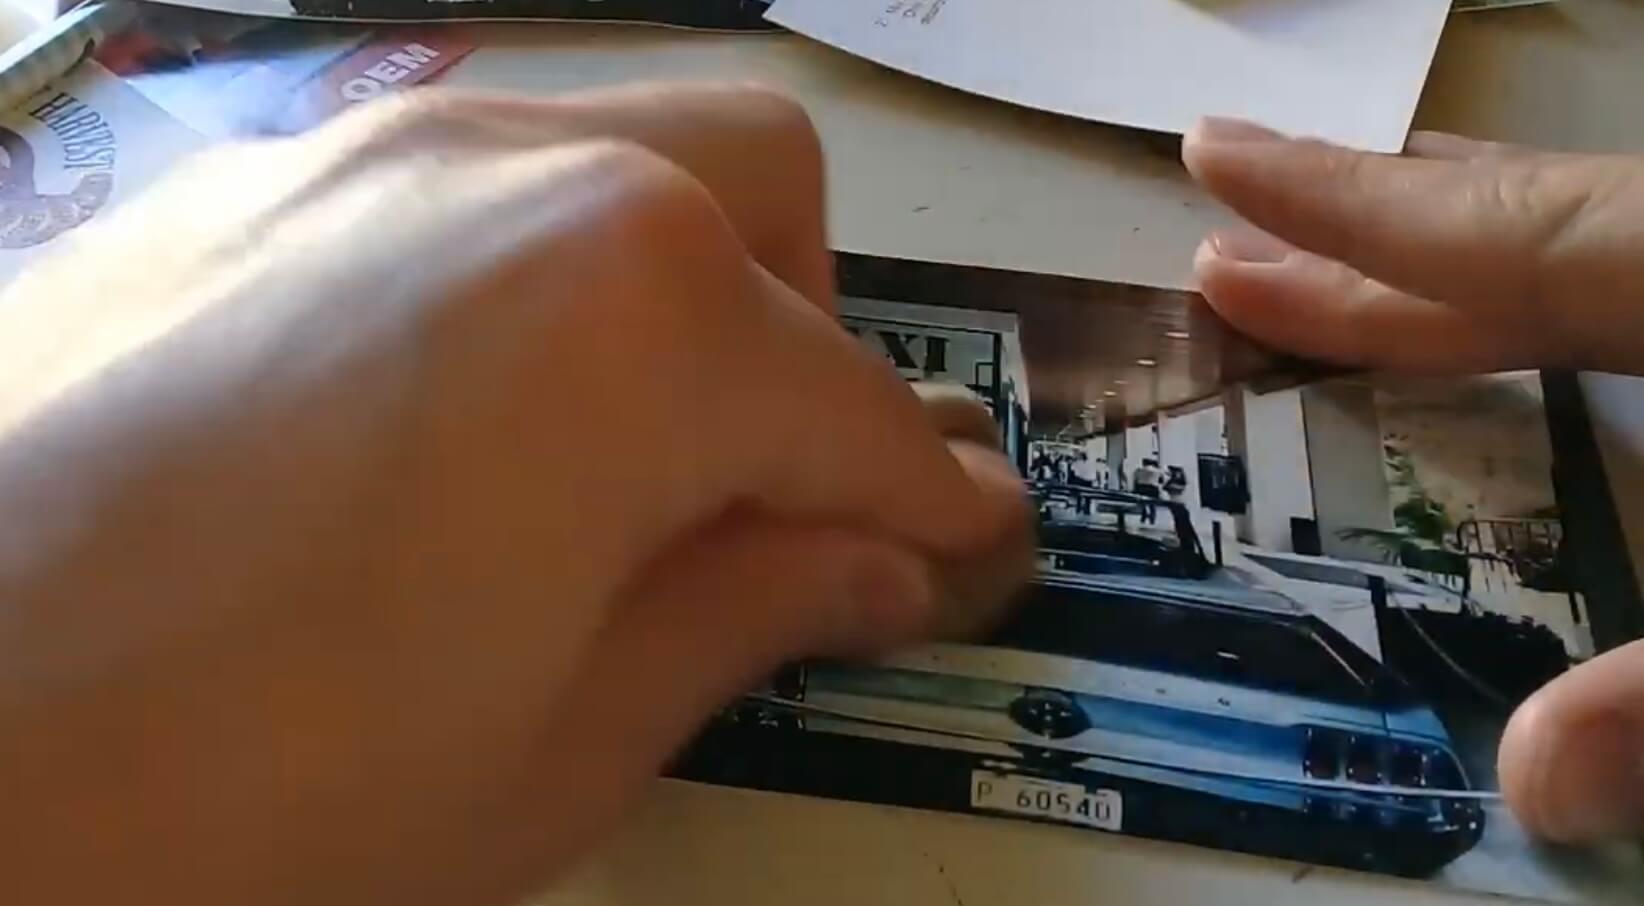
Method #1: Rubbing Alcohol + Cotton Swab
-
Start by gathering the necessary materials: rubbing alcohol (isopropyl alcohol) and a cotton swab.
-
Dip the cotton swab into a small amount of rubbing alcohol. Make sure it is not dripping wet, as excessive moisture can damage the photo.
-
Gently rub the stained or sticky area of the photo with the alcohol-soaked cotton swab. Be careful not to apply too much pressure or rub vigorously, as this can smudge or scratch the photo surface.
-
Continue rubbing the affected area until the stain or residue is removed. You may need to use a fresh cotton swab and additional rubbing alcohol if the stain is stubborn.
-
Once the cleaning is complete, allow the photo to air dry before handling or storing it.

Best for: Glossy or laminated photos with sticky residue on the surface. It should not be used on matte or fragile photos, as rubbing alcohol can damage these surfaces.
Method #2: Distilled Water + Cotton Swab
-
Gather the required materials: distilled water (tap water may contain impurities that can harm the photo) and a cotton swab.
-
Moisten the cotton swab with a small amount of distilled water. Again, make sure the swab is not dripping wet.
-
Carefully wipe the affected area of the photo with the damp cotton swab. Use gentle, circular motions to remove the dust or smudge.
-
If necessary, repeat the process with a fresh cotton swab until the area is clean.
-
Allow the photo to air dry completely before handling or storing it. If cleaning more than one photo, do not stack them in a pile to dry — this will cause them to get stuck to each other.

Best for: Removing dust and minor smudges from most types of photos, including matte, glossy, or fragile ones. It is a safe and gentle cleaning method that minimizes the risk of damage.
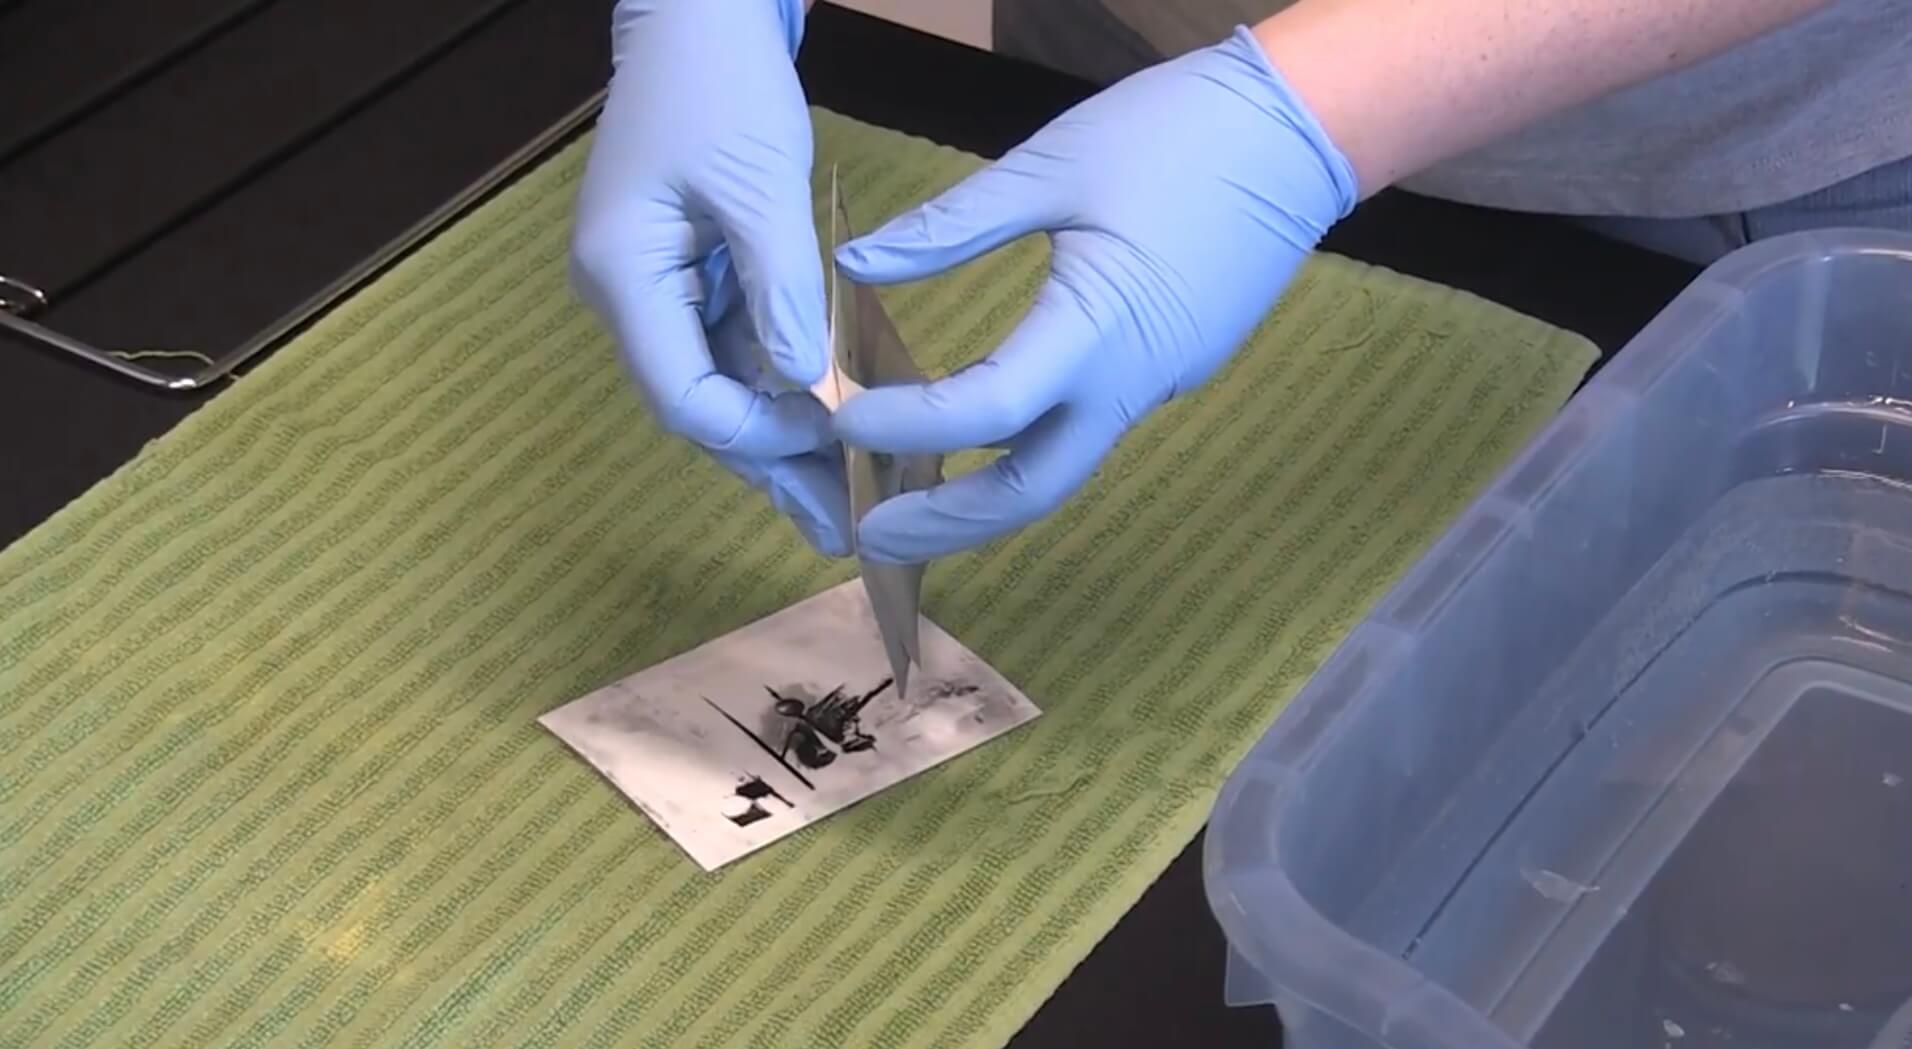
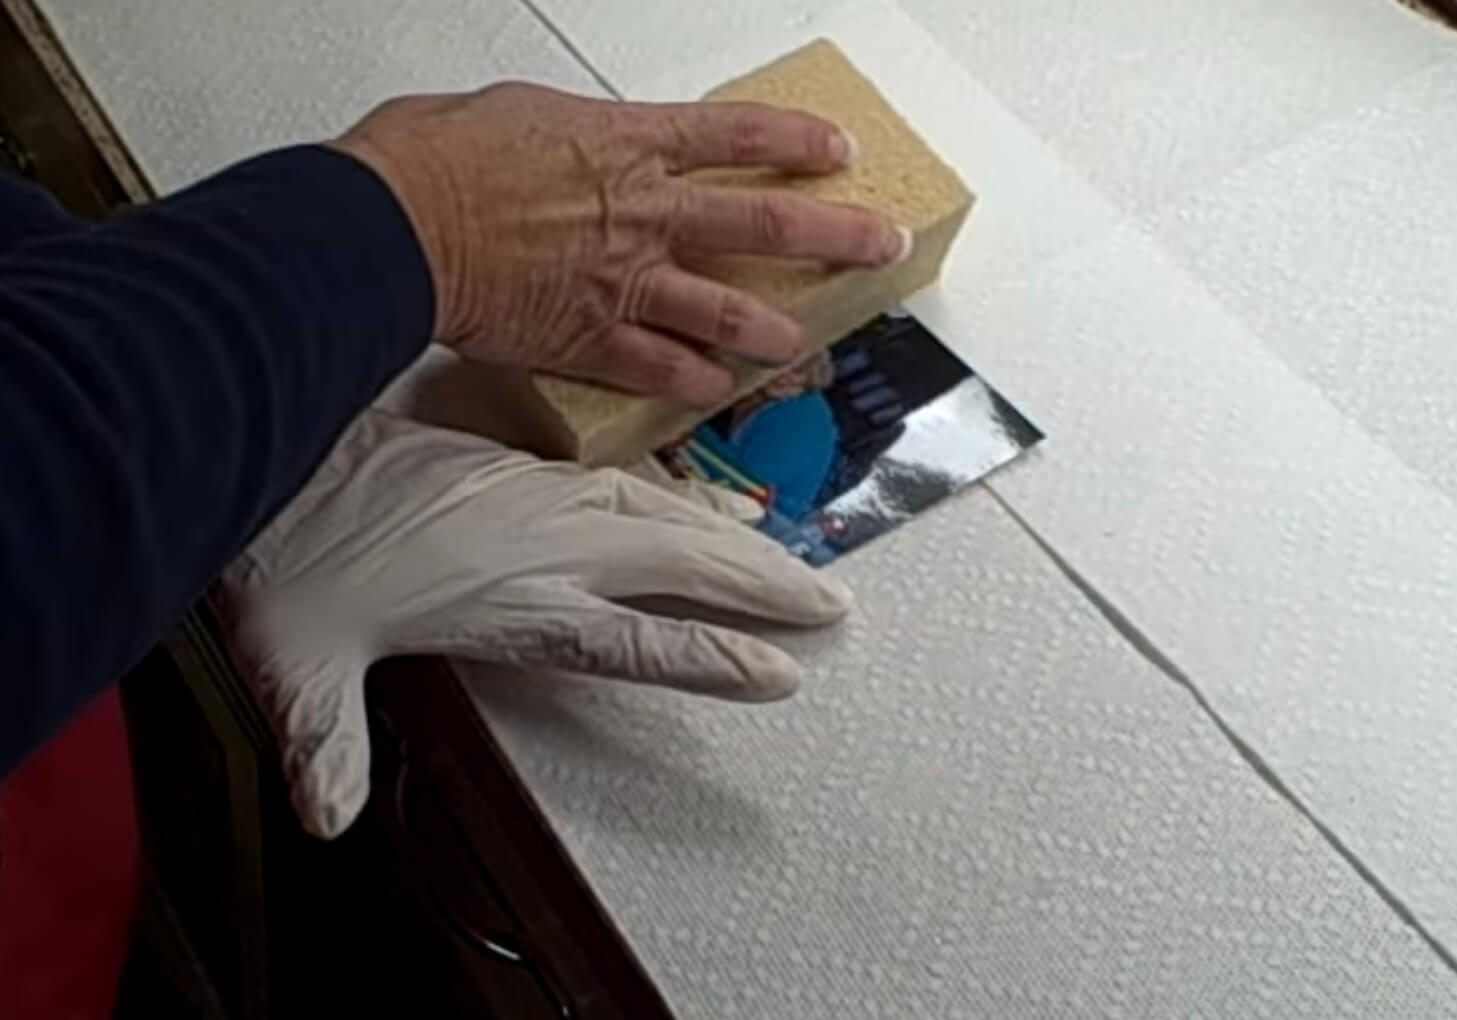
Method #3: Dry Cleaning Sponge
-
Get a dry cleaning sponge (also known as an art gum eraser).
-
Lightly rub the dry cleaning sponge over the surface of the photo, focusing on the areas with dirt or smudges. Apply gentle pressure and use short, gentle strokes. Use gloves if handling a very damaged photograph.
-
As you rub, the sponge will pick up the dirt and debris from the photo's surface. Periodically check the sponge and clean or replace it if it becomes dirty.
-
Once you have cleaned the entire photo, use a soft brush or cloth to remove any residual eraser crumbs.

Best for: Removing surface dirt and smudges. Suitable for a wide range of photos, including delicate or textured surfaces. Particularly useful for cleaning old photographs.
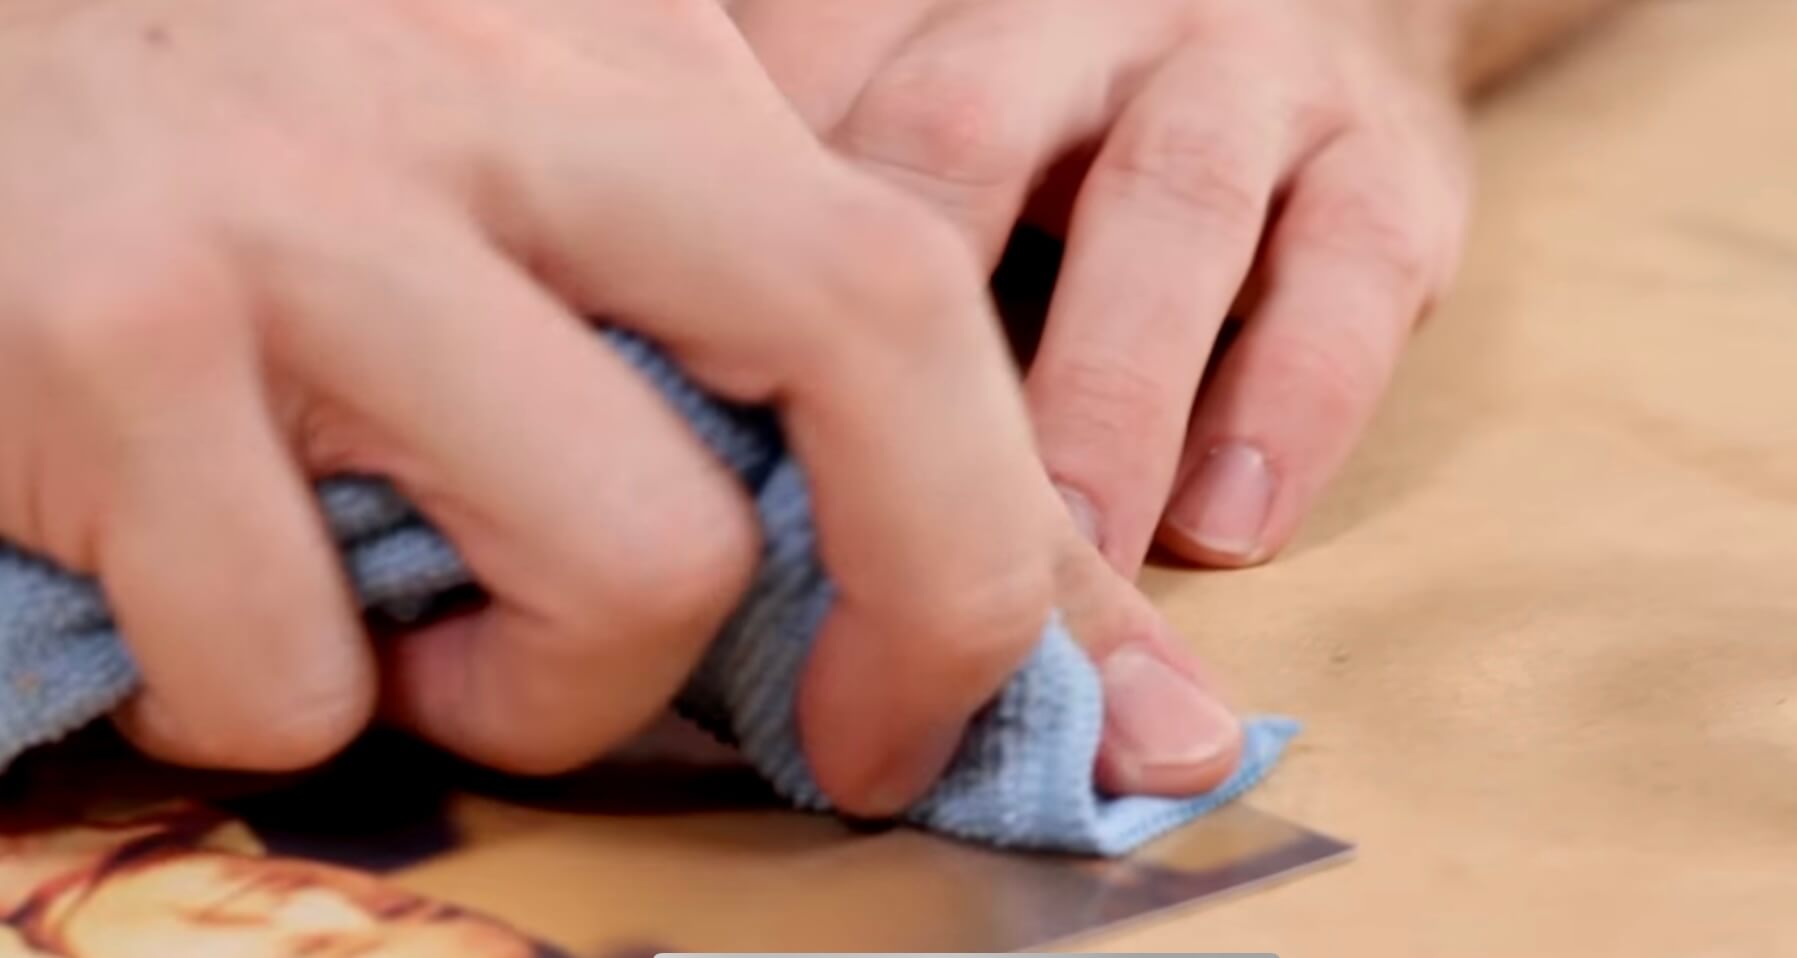
Method #4: Compressed Air + Soft Cloth
-
Get a can of compressed air, available at most electronics or office supply stores, and a soft, lint-free cloth.
-
Hold the can of compressed air upright and use short bursts to blow air onto the photo's surface. Ensure the nozzle is a safe distance away from the photo, typically around 6 to 8 inches (15 to 20 centimeters) away. This will dislodge any loose dust or debris without physically touching the photo.
-
After using the compressed air, take a soft, lint-free cloth and gently wipe the surface of the photo to remove any remaining particles. Use light, sweeping motions and avoid applying excessive pressure.
-
Inspect the photo to ensure all dust and debris have been removed. If necessary, you can repeat the process with the compressed air and cloth until the photo is clean.
-
Once the cleaning is complete, allow the photo to air dry if any moisture from the compressed air remains.

Best for: Removing loose dust and debris. Suitable for most types of photos, including those with delicate or textured surfaces.
How to Clean Photographs without Ruining them?
Unfortunately, engaging in a physical photo-cleaning process has the potential to cause:
-
Additional Damage: The restoration process may inadvertently lead to additional damage to the photo, such as scratches, tears, or color distortion.
-
Loss of Original Details: Inexperienced restoration attempts can result in the loss or alteration of original details, such as facial features, textures, or fine lines.
-
Incorrect Color Balance: Improper color correction can result in inaccurate or unrealistic color balance, making the restored photo look unnatural or artificial.
-
Over-cleaning: Excessive cleaning can make the image appear overly smooth, plastic-like, or lacking in texture, detracting from the authenticity and charm of the original.
-
Loss of Contrast or Sharpness: Mishandling the cleaning process can cause a loss of contrast or sharpness, resulting in a blurry or flat-looking image.
Numerous high-tech software solutions are available that can digitally clean and restore your old photographs with minimal input from yourself, eliminating the need for photo cleaning supplies and saving you valuable time, money, and patience.
Imagewith.AI is an AI-powered photo editing software specifically designed to digitally clean and enhance your old photographs.
Getting Started With Imagewith.AI Overscale
With Imagewith.AI Overscale, you can step back and let AI handle all the work for you. In a matter of seconds, Overscale will digitally enhance your photo by 2x or 4x for free.
Overscale can even improve the quality of very old images; look how it transformed this 150-year-old photograph:


